How To Setup Logitech Webcam on Your Computer?
How To Setup Logitech Webcam on Your Computer?
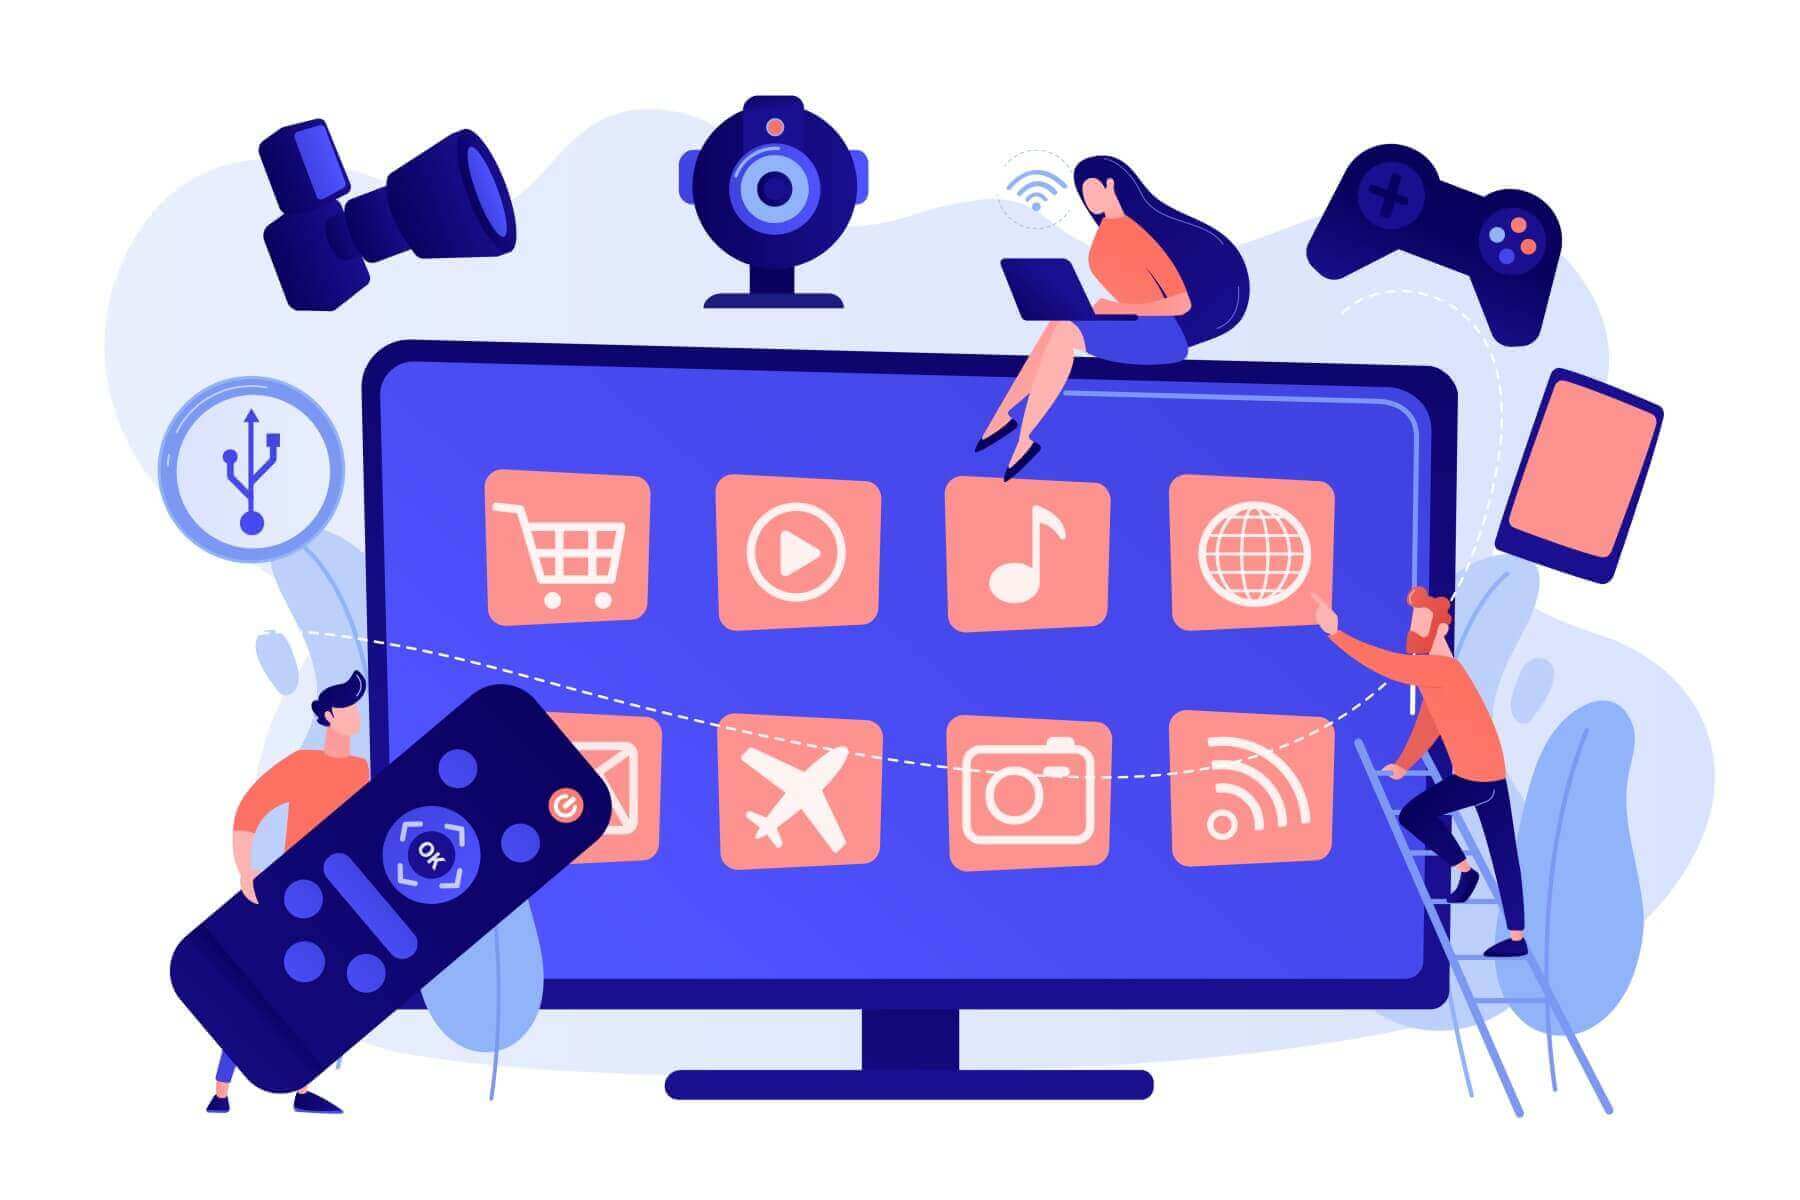
Since Logitech is one of the most popular IT manufacturers in the entire world, you would be benefitted a lot if you know how to use Logitech webcam. It is evident most of your friends already have it as their main webcam. It is available in bunches throughout many stores nationwide.
Add that to the fact that it is highly possible to purchase it online. As a result, you can have it delivered straight to your doorstep so that there won’t be any additional problems when you come to think of it. We all know using it is a whole different story especially since not everyone is tech-savvy.
Also Read – How To Speed Up Your Laptop Performance?
Here are the steps on how to setup logitech webcam on your computer as below –
1. Locate USB Port –
At the back of your computer, you are going to come across a bunch of USB ports that will come into play a little bit later on. After all, this is not only where you would connect your webcam, you can also connect a lot of other things to those ports like your mouse and your speakers. It won’t be that hard to locate them as you should already know what they look like.
It is common for all devices that are connected to your computer to have a USB connection. In fact, it is even possible to charge your phone to your computer. Of course, don’t expect the charging time to be that fast. If you are in a hurry, then use your fast charger to get the best results.
2. Put in Desired Position –
According to Wikihow, you should now put your webcam in the desired position. There are many places where you can put it and the best place would be on top of the monitor. Usually, Logitech cameras can easily be attached on top of the monitor so clipping it there would be a pretty common practice.
It really depends on your computer table. After all, if there is space there for it then you can put it thereto. You just need to adjust it a bit when it is finally working so you can capture it in the nicest manner. You can expect to either adjust the webcam physically or do it right on your computer. You can’t blame yourself if there will be several instances in the future when you would have no choice but to switch up the design again.
3. Search for Camera app –
You don’t have to be a beginner to find out how you can search for the Camera app because there is a Start drop up menu at the bottom left part of your screen. When that happens, you would want to see yourself right on the camera. It is indeed possible you will need to flip the camera over in order to get a good view of yourself and whatever it is that is right behind you.
4. Set up the Microphone –
It is a good thing Logitech webcams come with a built-in microphone so that you don’t have to buy another one. When you click on the ‘Start menu, you can adjust the settings by going to the gear icon then clicking on the Sound tab. Under the Input header, the Logitech webcam should already be there.
5. Test the Webcam –
Now that the Logitech webcam is properly installed, you should test it in order to find out if it is working properly. The best website to do this would be none other than Device Tests. The entire process won’t even take too much of your time. Once you see that you see yourself and the background in your monitor then the webcam is perfectly fine.
Even if there is one slightest hint of discretion then you should know what to do about it and that is to get the webcam fixed if it is indeed the one that is wrong. You can even get help from the manufacturer and you can expect them to help you in just a short amount of time.
Before everything is said and done, they could come in and give you all the solutions that you need. Besides, it is all about making sure you are in the right path to getting the most out of your investment.
Also Read – How to Create More Disk Space On a Mac?